Push Button Display Update 10-02-17
We haven't really shown any pictures of the progress we've made on our push-button display layout. This layout will be on display to the public in our Museum room after we complete the final wiring.
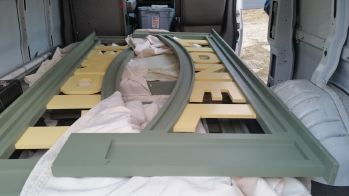
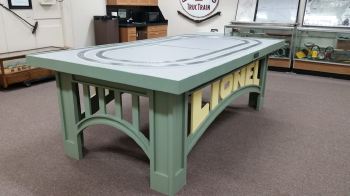
We bought a fancy table that was being sold by the Train Collectors Association. They no longer had the space for it. We thought it would be the perfect base for our push-button layout.
Getting all the table pieces out of the box.
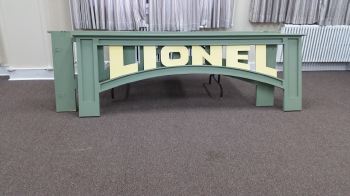
We kept the original Train Collectors Association placard on the layout.
The base of the table assembled.
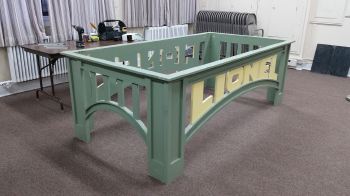
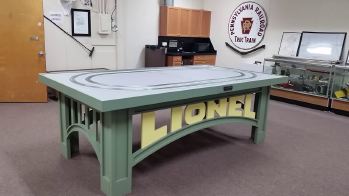
Adding the first part of the deck with the two base level loops installed.
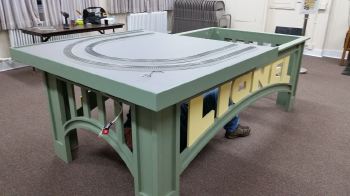
The final deck with the two loops.
It fits nicely in the Museum room.
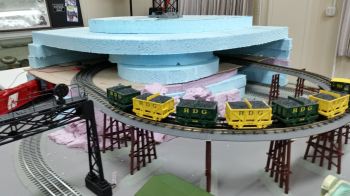
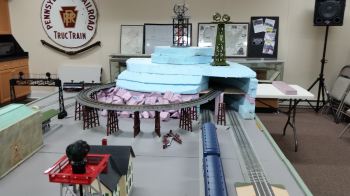
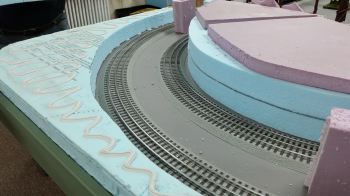
The upper mine loop and mountain are starting to take shape.
The mountain takes up about 1/4 of the layout.
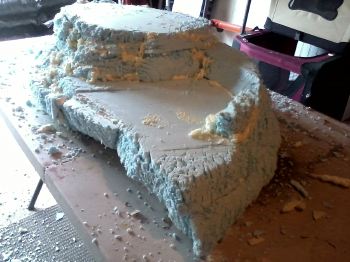
The mountain is formed by stacking and gluing flat pieces of insulating foam on top of each other, until you get the desired height.
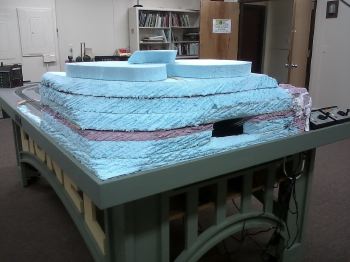
Here’s the finished base of the mountain from the back side. The hole is to allow you to see the trains running inside. The mountain also comes apart in three pieces to allow easy access to the tracks.
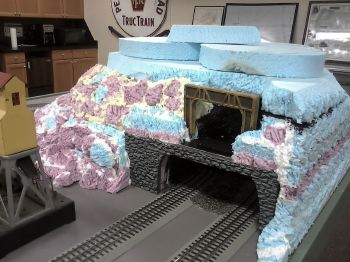
Now we added the tunnel portals and started filling the outside of the mountain with rough squares of foam. This helps disguise the fact that it’s just stacks of foam boards.
We’ll go back and start to carve the rough blocks into rock faces to give the mountains some texture.
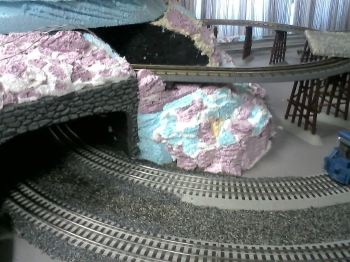
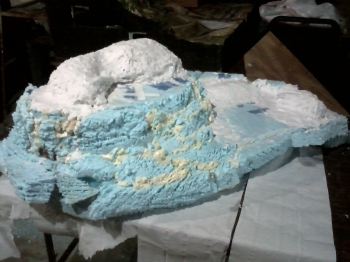
We removed the top of the mountain to re-shape sections and fill in the gaps between the layers. This keeps the track areas from getting glue and foam stuck to them.
Here it is after we added a little more foam, and gave it some shape.
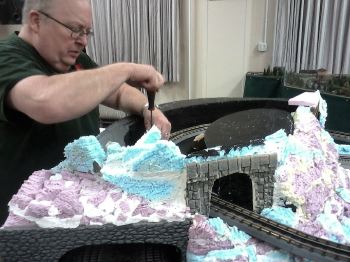
Steve takes advantage of the top being off to do a little track work and install the lights on the inside of the mine area.
 Index page 1 2 3